The chimney is one of the main components of the heating system in the house. Despite this, its installation is an affordable event for an unqualified master. But only with the proper arrangement of the chimney from a brick with its own hands it will ensure the output of combustion products to the outside, and heat will begin to spread throughout the rooms. For the installation of such a structure, it is worth familiarizing yourself with some nuances and rules.
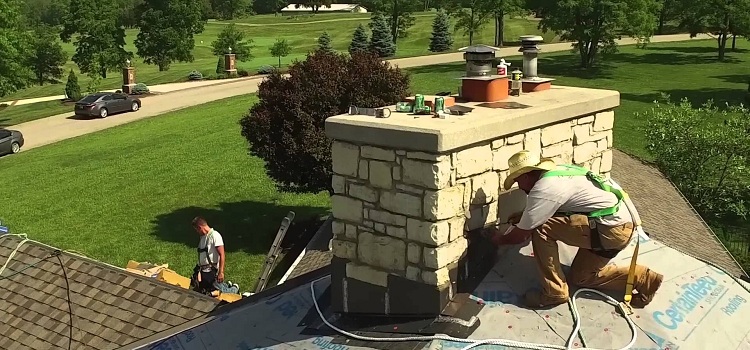
Installation of a brick or stone chimney should be carried out in accordance with the rules and requirements of SNiP
Content
Features and advantages of brick chimneys
Each private house, which has one of the possible configurations of the heating structure, is equipped with a chimney. The role of the chimney is to remove the products of fuel combustion outside the house. Today there are a large number of new solutions for arranging such a system. In any hardware store you can pick up any materials and tools you need in order to perform a quality installation of this design.
Brick structures are still very popular and distinguished by their reliability. The main advantages of such chimneys:
- a variety of materials for installation;
- low cost of installation;
- heat resistance. The brick pipe can withstand temperatures up to 1000 ° C;
- aesthetics. Brick chimneys look very beautiful and can play the role of a building decor element. For decorating pipes, ceramic material is popular.
- thermal conductivity. Such a chimney “controls” so that the heat circulates through the rooms and does not disappear through the pipe.
Types of brick pipes for chimneys
The choice of the type of brick pipe depends on the furnace that is used in a particular case. A brick pipe can be of two types:
- indigenous;
- mounted.
Mounted structures are a continuation of the furnace, and the main ones are installed nearby and have an autonomous character. The connection of the main structure with the furnace occurs using a special pipe.
The brick main pipe for the chimney is ideally combined with cast-iron appliances in heating structures. In addition, several furnaces can dock with one chimney of the root type. In this case, you must correctly select the diameter of the pipe so that it copes with the load on the output of combustion products.
Important! When installing the root structure and connecting it through a pipe with a gas boiler, you may need to install a metal pipe inside the chimney. A brick chimney for a gas boiler must necessarily meet all the norms of SNiP.
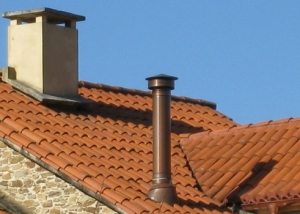
The chimney nozzle pipe is a direct continuation of the furnace and is displayed on the roof. This type of pipe can only exhaust smoke from one furnace.
Brick chimney device
The root and mounted chimneys, in principle, have an identical structure.However, due to the fact that the root structure can combine several furnaces, risers and sections there will also be several. Their number varies depending on the number of storeys of the house.
The chimney design includes the following elements:
- The neck of the furnace. This is part of the flue system, which runs from the furnace to the cutting and incorporates a smoke damper. The valve controls the thrust.
- Cutting the pipe (fluff). Used to protect combustible floors. The thickness of the walls of the groove is greater than in other parts of the structure. The thickness indicator, as a rule, ranges from 35 to 40 cm, depending on the specific case. As a result, insulation is approximately 25 cm thick.
- Pipe riser. This is a brick structure, inside of which there is a channel for the removal of combustion products. The riser is located before cutting, and in the ceiling of the attic.
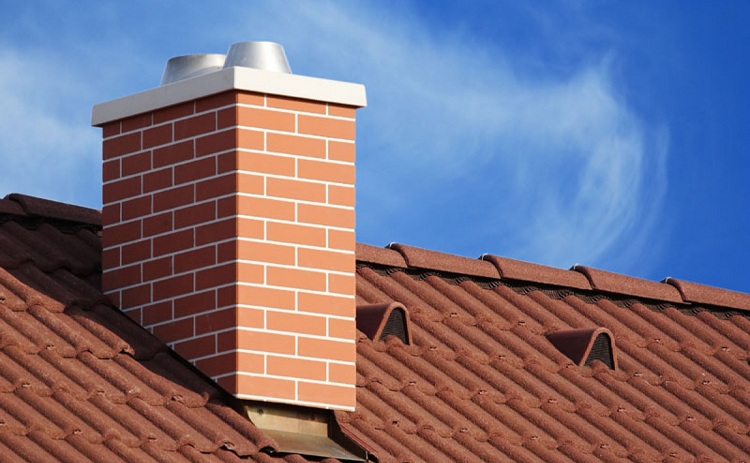
- Otter. An important element of the chimney design, which is mounted above the roof and protects the pipe from atmospheric precipitation and condensation.
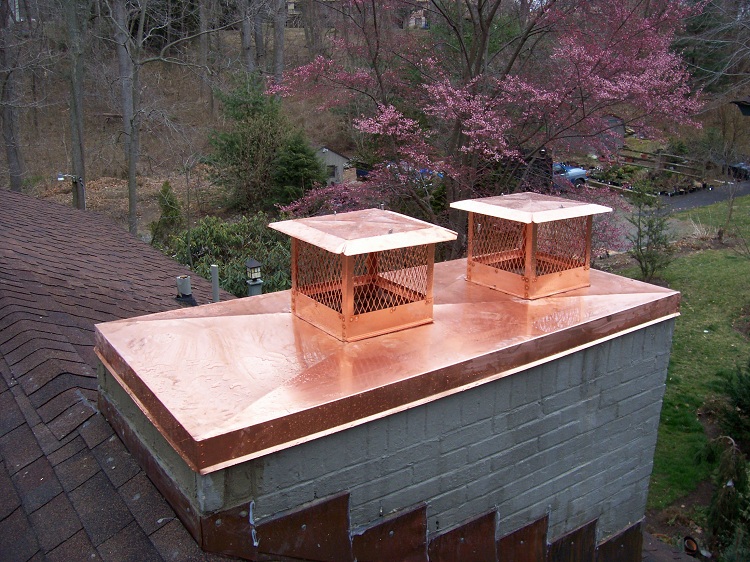
- Cap. It is mounted on top of the cap, which is part of the pipe head. It covers the chimney channel and prevents rain and snow from getting inside it. In addition, the correct location chimney hood increases traction in the system.
Note! In addition to the above elements, the structure includes a neck of the pipe, which together with the otter and the protruding cap form the head of the pipe.
Requirements for a brick chimney
There are special building norms and rules (SNiP), which indicate the basic requirements for the installation of brick chimneys for a bathhouse, a house, etc. The main ones are:
- When installing the chimney duct, the exhaust smoke must be discharged only in the vertical direction. However, in some cases, installation of horizontal sections is indispensable. Installation of horizontally located channels with a length of not more than 1 m is allowed.
- If the roof structure is flat, then the size of the outer part of the brick chimney is 1 m (this applies to the segment that is located above the roof surface).
- If the roof is pitched, then the height of the pipe located at a distance of 1.5 m from the ridge should be at least 50 cm above it.
- If the distance to the ridge is 3 m, then the chimney should be at the same level with it.
- A distance from the pipe to the ridge of more than 3 m means that the chimney dimensions are calculated by drawing a conditional line at an angle of 10 ° to the ridge horizon.
- The dimensions of brick chimneys for gas boilers are at least 5 meters above the roof surface.
- Materials used for laying brick pipes should have good resistance to high temperatures. The distance from the pipe to the wall should not be less than 38 cm. Also, a very important point is the installation of extensions in areas where the chimney is carried out through the ceilings.
- The thickness of the chimney must comply with the requirements of fire safety. As a rule, an optimal indicator is a thickness indicator of 10 cm.
- The installation of the chimney is carried out without changes in the inner diameter.
Proper chimney placement is a very important parameter that affects the draft in the system. The height of the pipe above the roof is also an important point. The calculation of the correct height is determined differently depending on the specific case.
It is interesting! The brick chimneys of the boiler room can be of industrial type and then their height must exceed by 25 meters the same indicator of the tallest building in the district.
Which brick to choose for the installation of the chimney?
In order to complete the installation of a brick chimney with your own hands, you must have a pre-calculated amount of brick and cement mortar. There are several useful tips that will help you decide on the choice of material for the chimney.
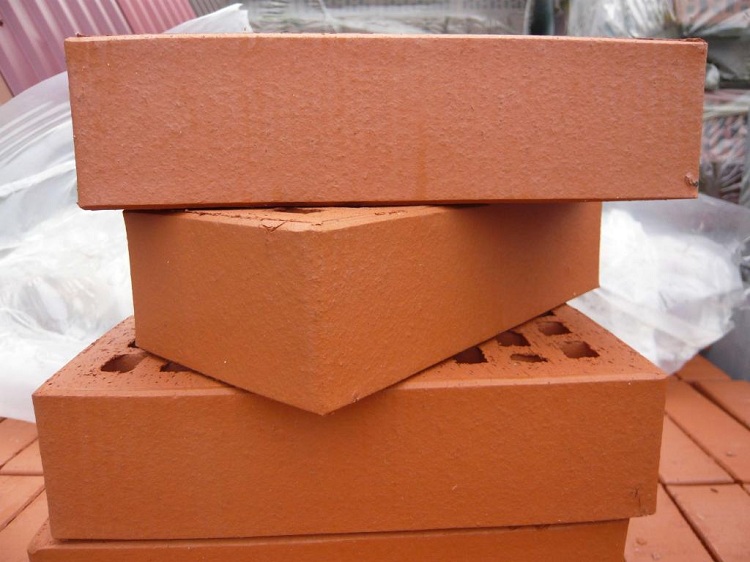
First of all, it must be borne in mind that the material that will be used for such a design must have high refractoriness. The shape of the brick should be smooth, without cracks and chips. As a rule, it is recommended to take stamps with a value above 200. The most suitable brick size for the construction of the chimney is 25x12x6.5 cm.
Important! For laying bricks use a special solution, which includes cement, sand and water. The quality of the solution can be determined by the granularity of sand. If the sand is fine-grained, then such a solution is ideal for installation and the laying of a brick chimney will be of high quality. In addition, the composition of the solution sometimes includes clay. It should be clean, free from impurities.
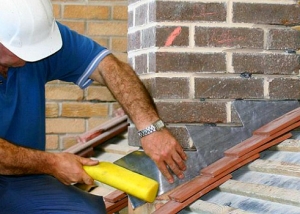
The joint of the roof and the pipe must be waterproofed to prevent water from draining through the pipe into the house. The otter, which is a bulge on the outside of the structure, does an excellent job of this function. In some cases, a galvanized metal “apron” is installed instead of the otter.
Brick pipe dismantling
Old brick structures not only poorly perform their function, but in some cases can threaten human life. Such chimneys in most cases are unprofitable and should fall under demolition.
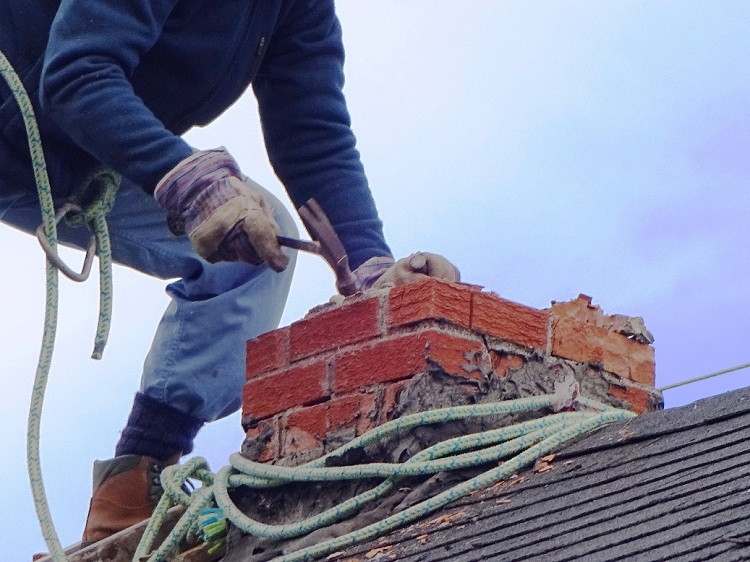
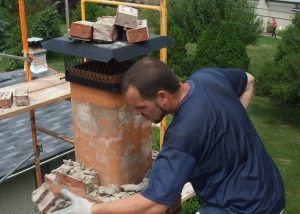
The dismantling of a brick chimney is quite simple: the pipe is disassembled into elements (brick). Dismantling always begins with the part that is located on the roof. Gradual advancement from it to the furnace is the main principle of work. For reliable adhesion of the brick on the outside of the pipe, cement is always added to the mortar, so this dismantled area is quite difficult to disassemble. Dismantling brick plastered chimneys is even more complicated.
After the disassembly of the outer pipe is completed, you need to dismantle the area located in the attic of the building.
Note! Before you start dismantling a brick pipe in the attic, you must definitely cover the hole in the roof. For this, an iron sheet or, for example, a metal tile remaining from the installation of the roof is suitable.
In order to prevent unwanted collapse of the plaster from the ceiling, it is necessary to equip the pipe with special strobes. A solution of sand and clay can be easily broken with a hammer or some other handy item.
Do-it-yourself brick chimney
Many people wonder: how to stack a chimney of bricks with your own hands? At the very beginning, it is necessary to prepare a scheme according to which the laying of the chimney will be carried out. This plan can be ordered from specialists who themselves will calculate everything and determine the optimal solution for a particular case. After you receive the scheme - it must be carefully studied. Then you can proceed directly to the laying of a brick pipe for the chimney.
Step-by-step installation guide for a brick chimney:
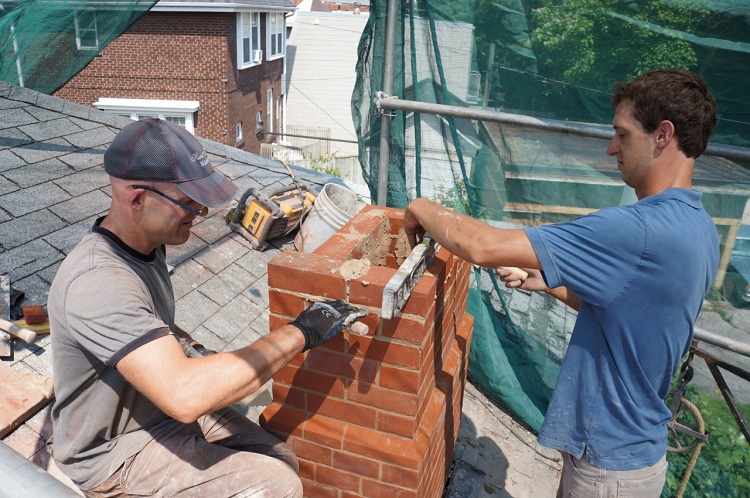
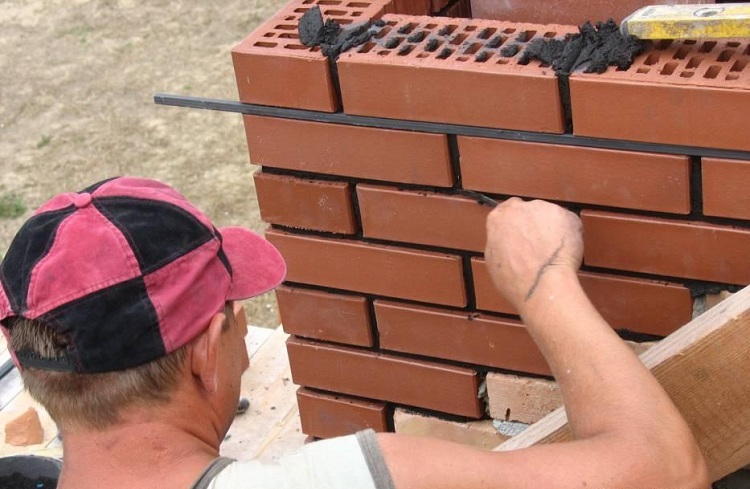
- At first, a nozzle pipe is mounted. The laying of the pipe begins with the installation of its warp on a special solution. Laying of the structure is performed by the dressing method. A feature of this method is to shift each row by half a brick. This provides maximum grip. The laying of this part of the chimney is carried out until 5-6 rows of bricks remain before the overlap.
- At the second stage, the masonry of the fluff is produced. Be sure to carry out the expansion of the outer perimeter. The optimal broadening sizes are 59 by 45 cm.The dimensions of the broadening along the inner perimeter in this case should be 14 by 27 cm.
Note! The expansion height must not go below the intersch floor.
Expanding the perimeter of the structure is quite simple: the bricks move along the edges of each row. Shear size should be approximately 4 cm.
- At the third stage, the installation of the otter takes place. It is recommended to carry out this work as carefully as possible so as not to make mistakes. The rows that are laid during the installation of the otter should be one third outward.
The laying of the first row should correspond to the last row of bricks in the extension, which was mounted at the previous stage.
- At this stage, the installation of the riser. Its masonry passes in the attic of the building. It is very important to remember that the pipe must have its own riser, located butt to the roof. It is laid through the roof and displayed at a height of 50 to 80 cm.
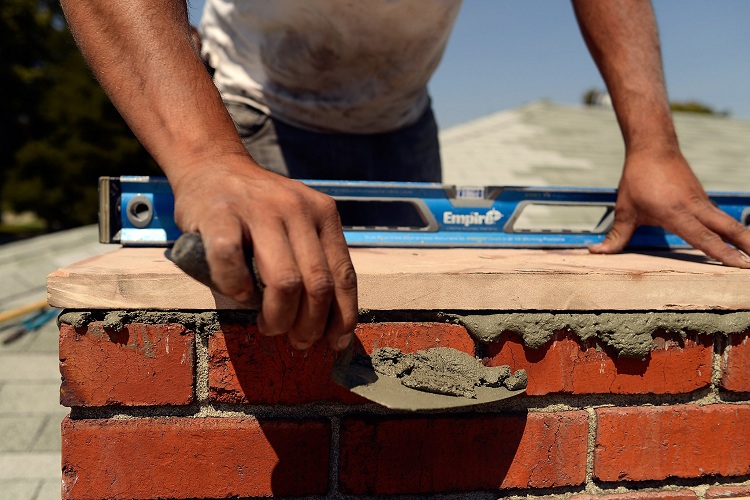
- At the last stage, the installation of the chimney neck is carried out. Next, a tip is mounted on its end, on which a protective cap is mounted. If you follow the rules and take into account the recommendations of experts, then you can fold a reliable brick pipe for the chimney with your own hands without any difficulties.
Fluff insulation
The wall of the fluff, as already mentioned above, is laid with the expansion of the perimeter. However, in addition to expansion, this section of the chimney structure must be provided with thermal insulation. Insulation is carried out along the entire perimeter of the pipe in the place where the chimney passes through the ceiling.
As a rule, asbestos is part of the heat-insulating material, but there are other options:
- felt previously impregnated with clay mortar.
- a metal box that insulates the pipe around the perimeter. Expanded clay or sand is usually covered inside the box.
In some cases, it is allowed to insulate the brick pipe with mineral wool. The insulation of such a wool should have a thickness of at least 10 cm.
Common installation errors
The main recommendations that allow you to do the laying of a chimney from a brick with your own hands were listed above. However, there are some common flaws in installation, which are recommended to pay attention to.
The most common mistakes when installing a brick pipe:
One of the most frequent oversights is the insufficient height of the pipe. Because of this, the system lacks the necessary traction and it cannot carry out its work properly. In order not to encounter this problem, it is recommended to seriously approach calculating the height of the pipe above the roof.
Another very common inaccuracy is improperly prepared cement mortar for masonry. Such a solution crumbles over time, which leads to the destruction of the structure. The consistency of the solution should be uniform, with fine-grained sand.
Important! It is very important that the solution is evenly distributed and does not form obstacles in the pipe channel for transporting combustion products.
It is also important that the chimney is smooth and maximally meets the standards described in SNiP.
Some more tips from experts:
Bandaging of bricks during masonry should be done very carefully. During masonry, different parts of the bricks (half, quarters, etc.) can go into the course. In order to divide the bricks into parts, it is recommended to use a grinder.
The solution layer should not be too thick - this can lead to its quick shedding and destruction of the structure. The optimum layer thickness is 4–5 mm.
In addition, do not forget about the periodic cleaning of chimneys. As a rule, soot, ashes and other combustion products accumulate on the walls of the chimney.Particularly prone to clogging structures that have irregularities in the internal channel. Preventive cleaning will allow you to clean the chimney and improve its performance.
