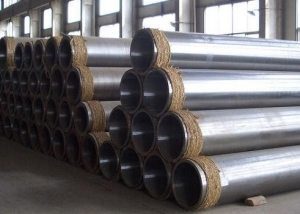
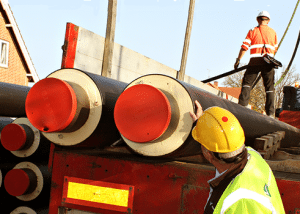
GOST 6357 of ´81 year extends to pipe threads, which are mainly used for joining fittings, pipes and fittings. The internal cylindrical and external conical threads can be connected, as well as its simple cylindrical shapes. GOST establishes the required dimensions, tolerances and profile parameters. Tapered threads must comply with 6211.
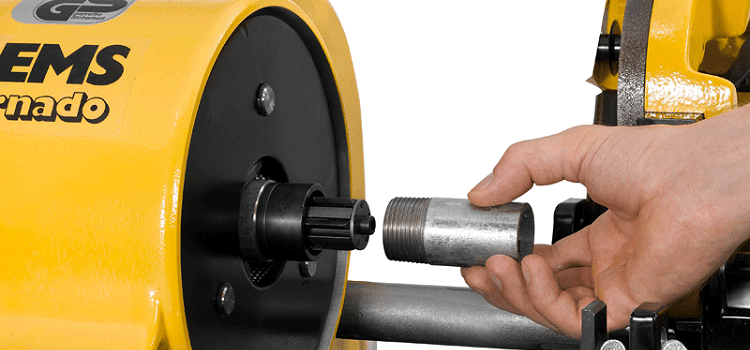
Thread is often used to connect metal pipes, and it is necessary to cut it in strict accordance with GOST
Content
Pipe thread profile
GOST 6357-81 regulates the main parameters of the profile. The required dimensions in millimeters are given in the table.
Table 1
| Step | The height of the source triangle | Number of steps over a length of 2.54 cm | Profile height (working), * 10-1 | The radius of curvature of the hollow and the top of the thread, * 10-1 |
| 0,907 | 0,871165 | 28 | 5,80777 | 1,24557 |
| 1,337 | 1,284176 | 19 | 8,56117 | 1,83609 |
| 1,814 | 1,742331 | 14 | 11,61553 | 2,49115 |
| 2,309 | 2,217774 | 11 | 14,78515 | 3,17093 |
The pitch value of a cylindrical pipe thread (GOST 6357) is determined from the ratio of 25.4 mm / number of steps. The result is rounded to thousandths and accepted as the source for calculating the main profile parameters.
Note! It is allowed to make the tops of the external and internal threads with a flat cut, if the possibility of connection with a conical external thread according to document 6211 is excluded.
The main dimensions in millimeters, which are determined by GOST for pipe thread, are presented in table 2. Symbols, respectively: a - 1/16, c - 1/4, e - 1/2, f - 3/4, g - 5/8 , h - 7/8, j - 1 1/4, d - 3/8, k - 1 1/8, m - 1 3/8, n - 1 3/4, l - 1 1/2, o - 2 1/2, q - 2 3/4, r - 3 1/4, s - 3 1/2, p - 2 1/4, t - 3 3/4, u - 4 1/2, v - 5 ½, b - 1/8.
table 2
| Thread size | Step, * 10-1 | Thread diameter at, * 10 mm | |||
| I row | II row | equality outside diameter outside pipes and outside diameter internal clutch |
equality middle diameter indoor and outdoor thread |
equality inner diameter indoor and outdoor thread |
|
| a | 9,07 | 0,7723 | 0,7142 | 0,6561 | |
| b | 0,9728 | 0,9147 | 0,8566 | ||
| c | 13,37 | 1,3157 | 1,2301 | 1,1445 | |
| d | 1,6662 | 1,5806 | 1,4950 | ||
| e | 18,14 | 2,0955 | 1,9793 | 1,8631 | |
| f | g | 2,2911 | 2,1749 | 2,0587 | |
| 2,6441 | 2,5279 | 2,4117 | |||
| h | |||||
| 3,0201 | 2,9039 | 2,7877 | |||
| 1 | k | 23,09 | 3,3249 | 3,1770 | 3,0291 |
| 3,7897 | 3,6418 | 3,4939 | |||
| j | |||||
| 4,1910 | 4,0431 | 3,8952 | |||
| l | m | 4,4323 | 4,2844 | 4,1365 | |
| 4,7803 | 4,6324 | 4,4845 | |||
| n | |||||
| 5,3746 | 5,2267 | 5,0788 | |||
| 2 | p | 5,9614 | 5,8135 | 5,6656 | |
| 6,5710 | 6,4231 | 6,2752 | |||
| o | |||||
| 7,5184 | 7,3705 | 7,2226 | |||
| 3 | q | 8,1534 | 8,0055 | 7,8576 | |
| 8,7884 | 8,6405 | 8,4926 | |||
| r | |||||
| 9,3980 | 9,2501 | 9,1022 | |||
| s | t | 10,0330 | 9,8851 | 9,7372 | |
| 10,6680 | 10,5201 | 10,3722 | |||
| 4 | 11,3030 | 11,1551 | 11,0072 | ||
| 5 | u | 12,5730 | 12,4251 | 12,2772 | |
| 13,8430 | 13,6951 | 13,5472 | |||
| 6 | v | 15,1130 | 14,9651 | 14,8172 | |
| 16,3830 | 16,2351 | 16,0872 | |||
Tolerances and screwing lengths for inch pipe threads
GOST 6357 establishes the tolerances (deviations) that an inch pipe thread can have. They are counted from the nominal profile in a direction perpendicular to its axis.
The tolerances of the threaded average diameter are characterized by a division into two accuracy classes: A and B. The corresponding values for inch pipe threads (GOST 6357) are given in the table (legend as in Table 1).
Table 3
| Thread designation | Pitch * 10 mm | Internal thread | Male thread | ||||
| Diameters | |||||||
| Interior | Middle | Middle | Outer | ||||
| Tolerances, * 10 microns | |||||||
| For class A | For class B | For class A | For class B | ||||
| a | 0,0907 | 28,2 | 10,7 | 21,4 | 10,7 | 21,4 | 21,4 |
| b | |||||||
| c | 0,1337 | 44,5 | 12,5 | 25,0 | 12,5 | 25,0 | 25,0 |
| d | |||||||
| e - h | 0,1814 | 54,1 | 14,2 | 28,4 | 14,2 | 28,4 | 28,4 |
| 1, j - n, 2 | 0,2309 | 64,0 | 18,0 | 36,0 | 18,0 | 36,0 | 36,0 |
| 6, o - v, 5, 3.4 | 21,7 | 43,3 | 21,7 | 43,4 | 43,4 | ||
The numerical values for tolerances in document 6357 (4) are established empirically. Also in GOST are the screwing lengths, which are divided into 2 groups: long and normal. The corresponding values in millimeters are given in the table (the legend is in accordance with Table 1).
Table 4
| Thread designation | Step, * 10 | Normal make-up length | Long make-up length |
| a | 0,0907 | 4-12 | >12 |
| b | |||
| c | 0,1337 | 5-16 | >16 |
| d | |||
| e - h | 0,1814 | 7-22 | >22 |
| 1, j, k, m | 0,2309 | 10-30 | >30 |
| 2, l, n - q, 3 | 12-36 | >36 | |
| 6, 4, r - v, 5 | 13-40 | >40 |
The screwing lengths in GOST 6357 are also determined empirically.
Limit deviations of the sizes in accordance with GOST 6357-81
Pipe cylindrical threads are characterized by such extreme deviations for the internal and external threads, which are presented in the table (with symbols as in Table 1).
Table 5
| Thread designation | Pitch * 10 mm | Internal thread | Male thread | |||||||
| Diameters | ||||||||||
| Interior | Middle | Middle | Outer | |||||||
| Deviation * 10 μm | ||||||||||
| Upper limit | Upper limit | lower limit | lower limit | |||||||
| For class A | For class B | For class A | For class B | |||||||
| a, b | 0,0907 | +28,2 | +10,7 | +21,4 | -10,7 | -21,4 | -21,4 | |||
| c, d | 0,1337 | +44,5 | +12,5 | +25,0 | -12,5 | -25,0 | -25,0 | |||
| e - h | 0,1814 | +54,1 | +14,2 | +28,4 | -14,2 | -28,4 | -28,4 | |||
| 1, j - n, 2 | 0,2309 | +64,0 | +18,0 | +36,0 | -18,0 | -36,0 | -36,0 | |||
| 6, o - v, 5, 3, 4
|
+21,7 | +43,4 | -21,7 | -43,4 | -43,4 | |||||
Some provisions of GOST 6211-81
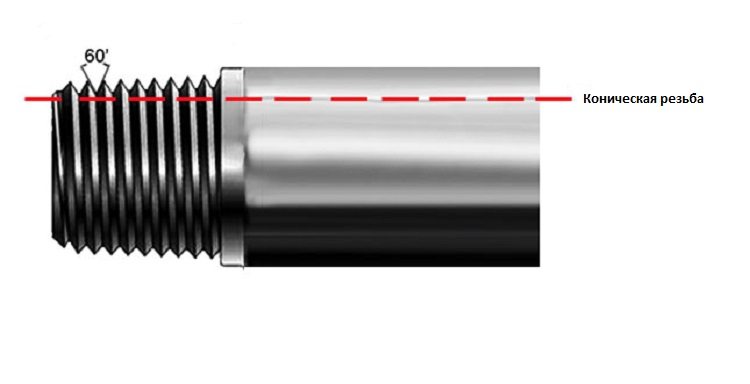
Conical pipe thread according to GOST 6211 from the year ´81 has a taper of 1:16. The document, as in the standard 6357 for cylindrical, shows its profile, tolerances and dimensions.
Note! The conical pipe thread has dimensions, pitch and diameter (in the main plane) are the same as in document 6357 of ´81.
Its possible length with size conventions as in Tab. 1 is given in the table.
Table 6
| Thread size | Working length * 102 mm | The length of the external thread from the main plane to the end, * 10 mm |
| a | 0,065 | 0,40 |
| b | 0,065 | 0,40 |
| c | 0,097 | 0,60 |
| d | 0,101 | 0,64 |
| e | 0,132 | 0,82 |
| f | 0,145 | 0,95 |
| 1 | 0,168 | 1,04 |
| j | 0,191 | 1,27 |
| l | 0,191 | 1,59 |
| 2 | 0,234 | 1,75 |
| o | 0,267 | 2,06 |
| 3 | 0,298 | 2,06 |
| s | 0,314 | 2,22 |
| 4 | 0,358 | 2,54 |
| 5 | 0,401 | 2,86 |
| 6 | 0,401 | 2,86 |
It is permissible to connect an external conical thread with a cylindrical internal thread having an accuracy class A.
Designate conical pipe thread (GOST 6211) with the letter R - for external, Rwith - for internal, RR - for the inner cylindrical. The left-hand thread is supplemented by the symbol LH.
GOST 6211, as well as 6357, approved in the year ´81, determine the dimensional values for pipe thread. Documents are structurally similar, however, the difference in form affects numerical values.
