The ventilation pipe is one of the main elements of the air supply system for housing. The output of these pipes is most often carried out through the roof. Installation must be carried out, guided by building codes and regulations (SNiP), because if the ventilation pipe on the roof is not installed correctly, all unpleasant odors and harmful substances will accumulate in the room.
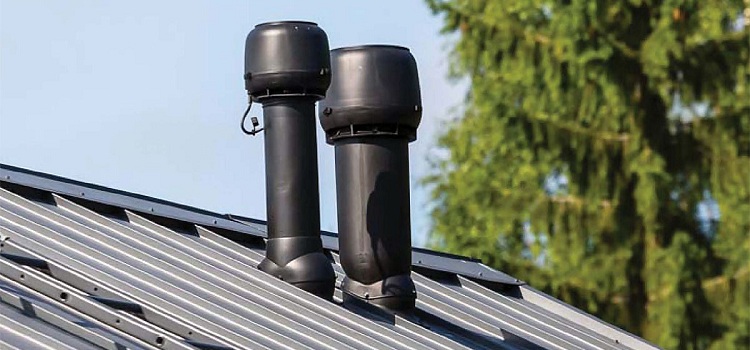
Pipes for ventilation are most often displayed on the roof and the installation of such a system should be carried out in accordance with all the rules
Content
- 1 Features of the output of pipes for ventilation on the roof
- 2 Varieties of ventilation pipes
- 3 What to consider when taking the vent pipe to the roof
- 4 Recommendations for choosing a location for the ventilation outlet
- 5 The height of the ventilation pipe above the roof
- 6 Additional devices that increase ventilation system performance
- 7 What is necessary for mounting the ventilation outlet to the roof
Features of the output of pipes for ventilation on the roof
The main task of the ventilation system is to create and maintain an optimal microclimate in the house. The air in the ventilated rooms must comply with sanitary standards. The air should not be too humid, contaminated with dust and hazardous substances.
Installation of the ventilation structure is quite easy, however, before installation, the creation of a project is a must. It should include a plan that takes into account which elements will be used during installation and their location.
Installation of ventilation parts must comply with building codes (SNiP) and be carried out taking into account all safety points. In addition, the correct location of the ventilation pipes allows you to get the most productive ventilation. A very important point is the location of the ventilation pipe on the roof. Its conclusion is carried out from the main equipment or from the wall. The number of components may vary. It depends on the specific case and on the plan for the future design.
The outlet of the ventilation pipe through the roof is performed for:
- the flow of oxygen into the house;
- installation of the fan section of the sewer riser;
- air circulation in the attic.
Choosing a place for the pipe when installing on the roof must be carried out in such a way that nothing interferes with the removal of contaminated air. The height and diameter of such products is determined taking into account their operational features.
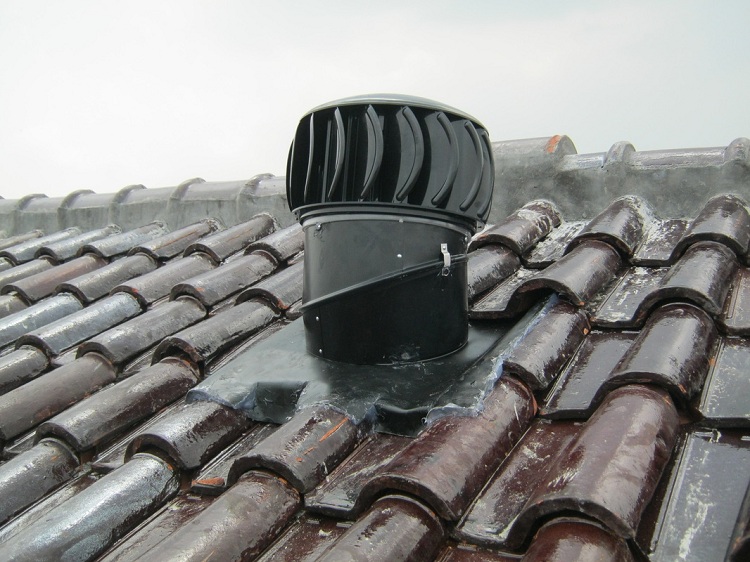
The height and diameter of the pipe depends on the type of ventilation, the volume of the room and other factors
Note! The easiest option to carry out the pipe through the roof - installation through the ridge. However, such an installation should be carried out only if the roof rafters are not equipped with a ridge beam. In addition, with such a conclusion of the channel it is very simple to insulate.
For a pitched roof type, the right solution would be to install a ventilation structure near the ridge. This placement does not require additional fixation of the duct.
Varieties of ventilation pipes
The range of such products is quite extensive and includes parts that are diverse in material and characteristics. Each of the species has certain advantages and disadvantages.Studying the characteristics of products will allow you to choose the most suitable pipe for a particular system.
Design requirements:
- moisture resistance;
- resistance to corrosion.
At low ambient temperatures, condensation builds up on the walls of the ventilation pipe, which may harm the structure in the future.
Important indicators that a pipe should have:
- wall thickness should be small to ensure high throughput of the mine;
- smooth surface of the walls, due to which the resistance to air movement is reduced;
- the number of compounds should be minimized to increase circulation;
- ventilation should be lightweight so that it is easier to mount and upgrade if necessary.
The cross section of the ventilation system can have a variety of shapes: rectangular, round, square; it also affects system performance. The round pipes are considered to be the best, it allows unhindered discharge of air.
The most popular materials that are used in the manufacture of ventilation elements displayed on the roof:
- galvanized steel;
- plastic;
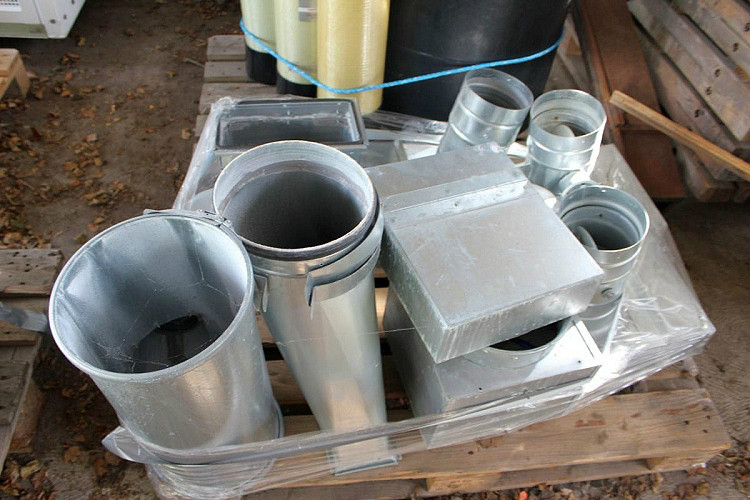
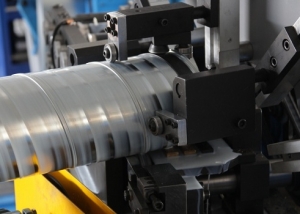
Galvanized. The most budgetary option are products made of galvanized steel. The protective coating of such a material has good resistance to corrosion. In addition, such products have a good coefficient of strength. The disadvantage of such ventilation pipes for hoods on the roof is their weight.
Plastic Such products are the most popular for ventilation systems. This can be explained by the fact that plastic has many positive qualities and has not many disadvantages. The main advantages of plastic ventilation pipes for installation on the roof: low weight, low cost, ease of installation. Installation of such a design can be done by anyone. You do not need to have any special construction skills for this. In addition, plastic products are resistant to corrosion, and the smoothness of the walls allows the most productive operation of the system.
What to consider when taking the vent pipe to the roof
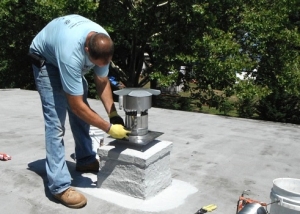
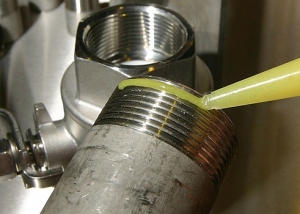
The ventilation duct exit to the roof is performed so that water does not fall under the roof covering. Reliable joint sealing is a very important event. If it is not carried out correctly, problems may arise in the future due to the fact that water will drain through the ventilation structure into the house. The necessary sealants in this case can be purchased at any hardware store.
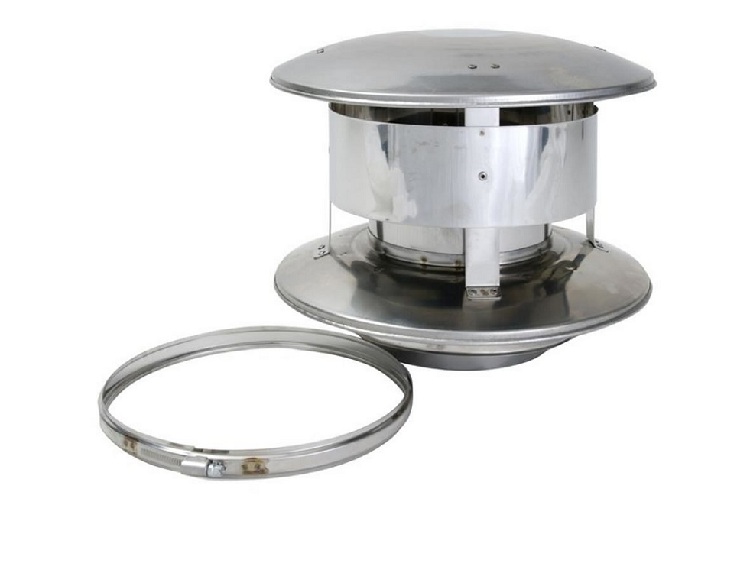
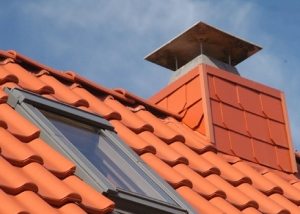
Important! The upper end of the pipe must be covered with a protective cap that will prevent atmospheric precipitation from entering the system. There is a more functional way - equipment of the pipe end with a deflector.
The lower end of the ventilation structure, which opens onto the roof, fits into the duct. Docking, as a rule, is carried out using connecting flanges. To improve the tightness, the outlet can be equipped with a special support ring. In addition, a valve is mounted directly in the pipe body that will regulate the movement of air.
Roof ventilation pipes are mounted using auxiliary elements, which are offered in a huge assortment. If you wish, you can consult with specialists who will tell you what parts to choose in order to simplify the work.
Recommendations for choosing a location for the ventilation outlet
Wizards recommend choosing a roof exit so that the channel runs without bends. Then the operational characteristics of the system will be maximum.If this option is not feasible due to certain circumstances, then you will have to use corrugated products. The use of corrugated tubes will make it easy to mount structures of the required shape.
As mentioned above, on pitched roofs, roofing is installed as close to the ridge as possible. In this case, the reliability of the system increases, since a larger segment of the pipe will be located in the room and protected from temperature extremes and other atmospheric phenomena. The short end of the duct going out will be more resistant to gusts of wind.
With any option for placing the ventilation pipe, it is necessary to take into account the indicators of wind backwater. Strong winds can interfere with normal airflow or even direct it in the opposite direction.
The height of the ventilation pipe above the roof
When choosing the height of the pipe that will be on the roof, first of all, you need to take into account its diameter. According to SNiP, the height of the ventilation pipes above the roofs must comply with a number of rules, depending on the type of roof and other conditions. The main ones are:
- When the ventilation structure is located in close proximity to the chimney, its height should be similar to a chimney.
- If the roof is flat, then the recommended height of the ventilation outlet must correspond to a parameter of at least half a meter.
- If the pipe is installed at a distance of 1.5 meters from the ridge, then its height should be more than 50 cm.
- At a distance from the ridge to the ventilation pipe from one and a half meters and above, its height should correspond to the ridge or be higher than it.
- If the pipe is located remotely from the roof ridge (3 m or more), then the height in this case is calculated as follows: a conditional line is drawn down from the ridge at an angle of 10 degrees in the horizontal direction. The height of the pipe should not be lower than that of this line.
Additional devices that increase ventilation system performance
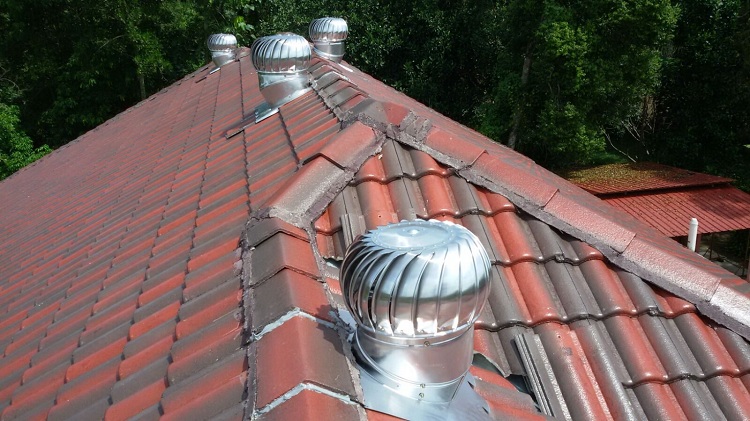
Additional elements can be used to improve system performance. The most popular device of this type is the deflector, it looks like a nozzle and is attached to the edge of the pipe.
Important! Mounting the deflector, as a rule, is carried out on ventilation pipes or above the exhaust openings. It depends on the specific case and type of construction.
The deflector is operated by the force of the wind. The element is equipped with a special device that discharges air - a diffuser. Depending on the size of this device, its performance also increases.
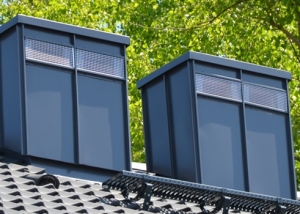
To prevent debris and atmospheric precipitation (rain, snow), special caps are used. As a rule, such a device consists of two parts:
- a visor that covers the outlet opening of the ventilation structure;
- drip used to remove water from the top of the visor.
In addition to the ventilation outlet, the roof can be equipped with special devices - aerators. They circulate air between the insulating layer and the outer roof covering. They are used in cases where the length of the ramp exceeds 3 m and there is not enough natural traction for normal air circulation.
What is necessary for mounting the ventilation outlet to the roof
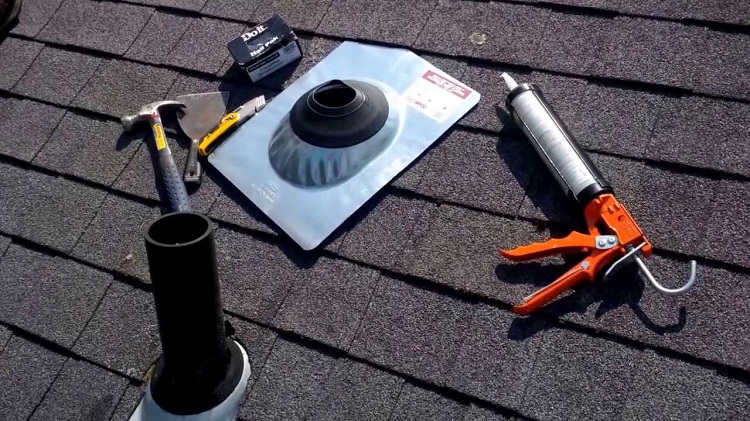
To perform installation work of the ventilation pipe over the roof, you need to have all the necessary tools. It is recommended that they be prepared in advance so that no unforeseen circumstances arise during installation.
The list of materials and tools that will be needed when installing the ventilation pipe:
- scissors for cutting metal;
- insulation;
- Screwdriver Set;
- marker (for marking);
- special sealant;
- self-tapping screws;
- sealing elements;
- passage node;
- work gloves.
- drill or perforator;
- level;
- electric or manual jigsaw.
Installation of ventilation pipes on the roof
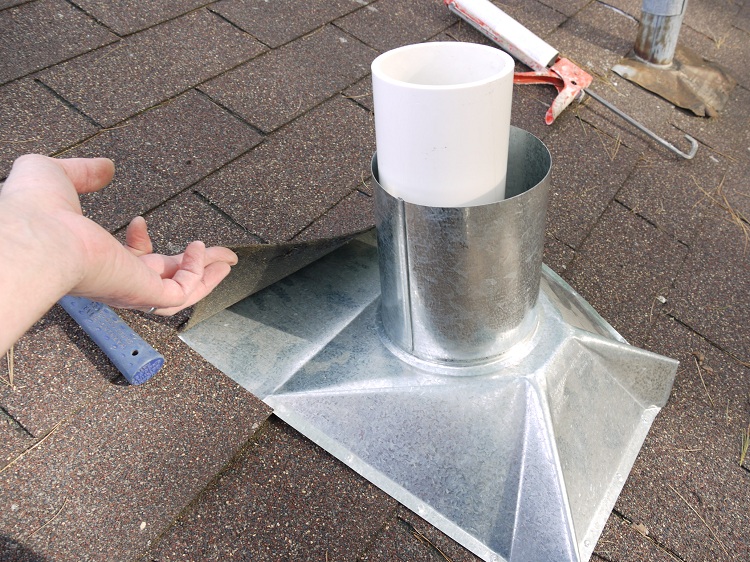
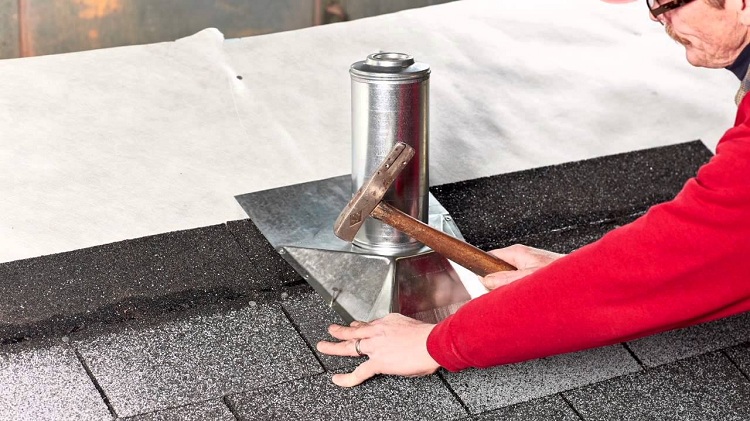
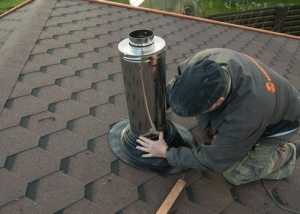
Installing a ventilation pipe from different materials on the roof is performed in stages. The conclusion of the structure to the roof is recommended using the passage unit. The installation of this element is carried out as follows:
- To begin with, it is worth determining the place where the passage node will be located. The choice must comply with building codes and regulations (SNiP).
- At the second stage, the marking of the contours is carried out in the place where the ventilation pipe will pass.
- A hole is cut out in the roof, defined by the diameter of a particular pipe and the material from which it is made.
- In accordance with the same rules, holes are made in the waterproofing and insulation.
- Marking is performed for the feed-through assembly and fasteners.
Important! The working surface should not contain any foreign elements. It is recommended that dust and dirt be removed. In addition, the roof must be absolutely dry. If necessary, excess moisture can be removed with a rag.
- At this point, the gasket must be secured. This is done using pre-prepared sealant.
- A gasket assembly is mounted on the gasket. The design is fixed using self-tapping screws.
- At the end, the ventilation pipe is passed through the passage unit and fixed with screws. It is very important that the structure is strictly vertical. This can be checked using the building level.
In addition, it is necessary to check how tightly the base of the passage unit fits, as well as perform the work of sealing the duct from the inside.
Pipe installation may have some differences depending on the material of the roof. For example, the installation of ventilation pipes for metal tiles involves the use of a very flexible sheet for waterproofing the pipe outlet. Only plastic material will fill in all the bumps and prevent moisture from entering.
If an exhaust duct is already installed, then it is worth thinking about its insulation. Ventilation elements have direct access to the street and are exposed to all environmental factors that can damage the pipe. There are products that are made with thermal insulation. This is very convenient, however, the cost of such pipes is much higher than usual. If you do not have extra means, then it is best to do the insulation of the ventilation structure with your own hands.
One of the most common materials for the insulation of such pipes is mineral wool. It is quite cheap, however, it is flammable and without special precautions its use is strictly prohibited. In addition, over time, mineral wool coalesces and loses its characteristics.
Experts advise not to save on material, and choose products that match the technical characteristics of thermal insulation. An excellent option for insulation of the ventilation structure is a foam shell. It is easy to install. In order to install such a shell, it is necessary to put it on the pipes and fix it in places of the seams with wire. In some cases, the seams are equipped with special locks that snap into place and form a protective structure. If you want to save, then you can buy a shell made of foam.
Note! In addition, there are special self-adhesive materials for the installation of which it is enough to remove the protective film and attach it tightly to the pipe. Such insulation can be done in several layers.
After installing the insulating material, it is necessary to equip it with gaskets.As sealants, various materials can be used. Then it is necessary to carry out a reliable fixation of the insulation so that wind and rain could not harm it.
