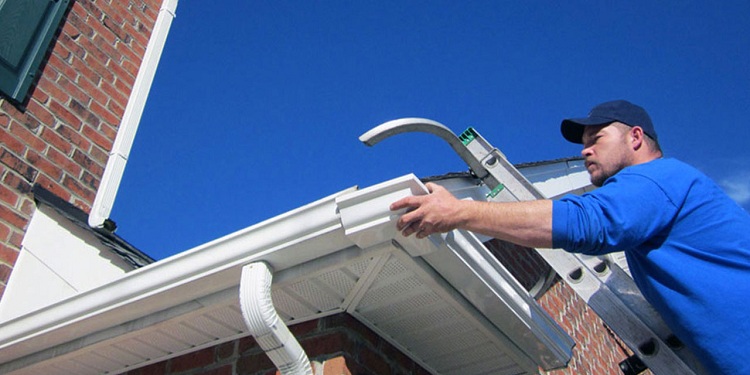
The roof is an important part of the construction of any private house, the function of which is to protect the attic from atmospheric precipitation. The installation of drains is a necessary measure that allows you to safely remove drains from the roof. In the absence of a drainage system, water flowing from the roof fills the walls and foundation of the building, which leads to their gradual destruction.
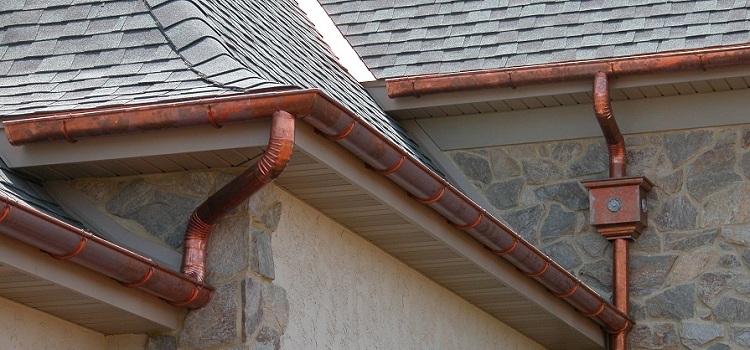
The gutter system for the roof is an important structure that must be assembled and installed in accordance with all the rules.
Content
Types of gutters
First of all, it is worth understanding the types of gutters. Gutters for the roof are classified according to several basic parameters, namely:
- material of manufacture;
- sectional shape;
- sizes.
Depending on the material of manufacture, 2 groups of drains are distinguished:
- metal;
- plastic.
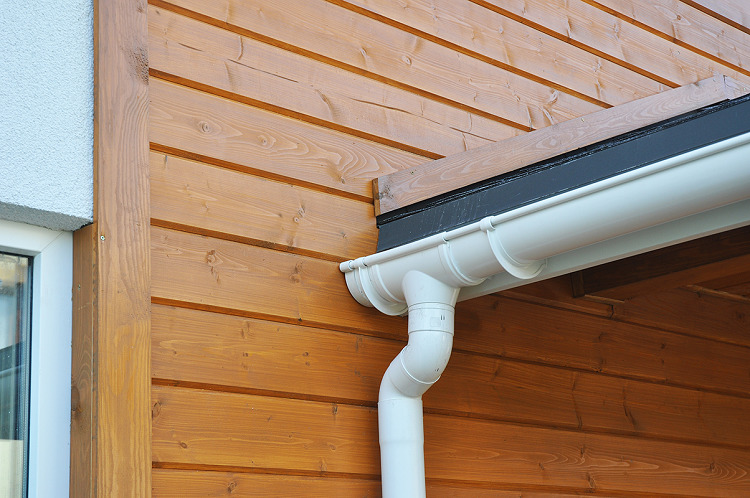
The shape of these products is an important parameter that affects the throughput of the system as a whole. The most functional in this sense are round drainage systems. Square drainage is used much less frequently and has a more presentable appearance.
Note! The dimensions of the gutters vary depending on the area of the roof slope.
In addition, all gutters are divided into 2 types according to the installation option:
- outdoor;
- internal.
External drainage structures are arranged around the perimeter of the building from the outside. In this case, installing the drain with your own hands is much easier.
In most cases, internal drainage structures are mounted during the construction phase of a house. Installing such a system in an already finished house is quite problematic, since it must be located in the walls and have access to sewer communication.
Melt or rain water enters the internal structure through funnels, which must necessarily have reliable sealing. Otherwise, water will penetrate into the walls, which will only exacerbate harmful corrosion processes.
The internal system is used to drain roof drains extremely rarely. As a rule, it is installed only in those cases when it is not possible to install an external gutter structure.
Structural elements of drainage systems
Gutter structures include several structural elements, each of which performs its own functions. Directly under the roof slope, special gutters are mounted, which are fixed to the brackets. Installation of gutter communication is carried out around the entire perimeter of the roof, so during installation you can not do without corners. Corners are of two types: internal and external.
The joining of the above structural parts must be carried out hermetically in order to ensure a good removal of atmospheric precipitation from the roof into the sewer system.To ensure the necessary sealing performance between the individual elements of the drainage communication, rubber seals are used. However, many owners do not use rubber seals and mount gutters with an overlap. In this case, experts recommend mounting the gutters so that the distance between them does not exceed 30 cm.
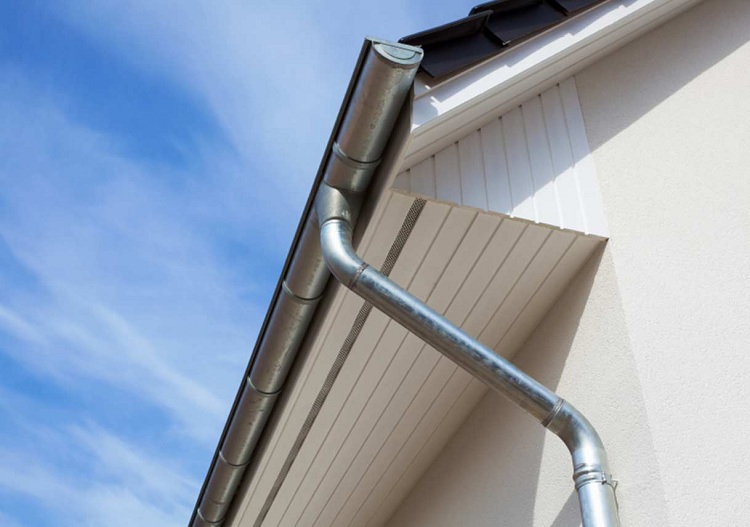
To drain wastewater, the gutters are perforated. After making holes, special funnels are inserted into them, which are joined with pipes located in a vertical plane. Such pipes are attached directly to the walls of the house by means of clamps. If the overhang of the roof is large, it is necessary to perform a curved drain pipe. For this, there are special structural elements - the knee. Calculations of gutters for the roof are performed before installation.
Advice! Calculation of the drain must be performed in advance. In order to perform a quick calculation of the material and design features of the future drainage system, it is advisable to familiarize yourself with the plan of your home.
The installation of gutters that remove water from the roof is quite simple, since the entire system is assembled as a designer. It can have any configuration depending on the taste of the owners of the house and the features of installation.
Gutter installation specifics and necessary tools
When installing roof drains, it is recommended to pay special attention to the mounting of the brackets. Installation of these fasteners is carried out taking into account one rule: the gutters should be located under a certain slope towards the funnels. The slope of the gutters affects the rate of drainage and can vary from 3 to 10 mm.
If the length of the pediment of the roof is less than 10 m, then the slope is made in one of the sides. When the length of the pediment exceeds 10 m, an additional funnel and a drainpipe are placed in the middle.
Do-it-yourself installation of roof drains requires the exact location of the brackets. As a rule, to organize the slope, one of the brackets is attached to the highest point. Next, the lower fixing element is installed (taking into account the necessary slope). After installing the upper and lower brackets, twine is stretched between them, along which the remaining fasteners are mounted.
Experts recommend that before starting work on the organization of the slope, check the line that you are guided by. In most cases, such a line is a wind board, which is not always located exactly in level.
Depending on the dimensions of the roof overhang, points are selected for the flow of precipitation. If the roof overhang has a length of less than 10 meters, then 1 drain is mounted. If the length of the overhang exceeds a ten-meter indicator, then it is necessary to organize 2 drains.
To install drainage communication, the following tools must be available:
- level (hydraulic type);
- special device for bending hooks;
- rope;
- yardstick;
- marker (for marking);
- hacksaw (for metal);
- rivet mites;
- drill;
- hammer;
- ticks;
- scissors for metal.
Gutter mount
Many owners are interested in the common question: how to fix the gutters? Today, there are several types of fastening gutters to the roof. Depending on the design features of the building and the wishes of the owners, it is possible to mount fixtures on:
- a wall;
- roof truss system.
The gutter is mounted with a slight slope. Such a slope is necessary for the normal removal of precipitation from the roof.In case of incorrect organization of the slope of the gutters, there is a risk that water will overflow over the edge of the structure. As a rule, a 5 cm slope is sufficient for every 10 m of drainage.
Important! The tilt should be in the direction where the downpipe is located.
In the event that the roof length is 20 meters or more, then experts recommend installing two slopes. In this case, the countdown is made from the point that corresponds to the middle of the building, to the edges of the house.
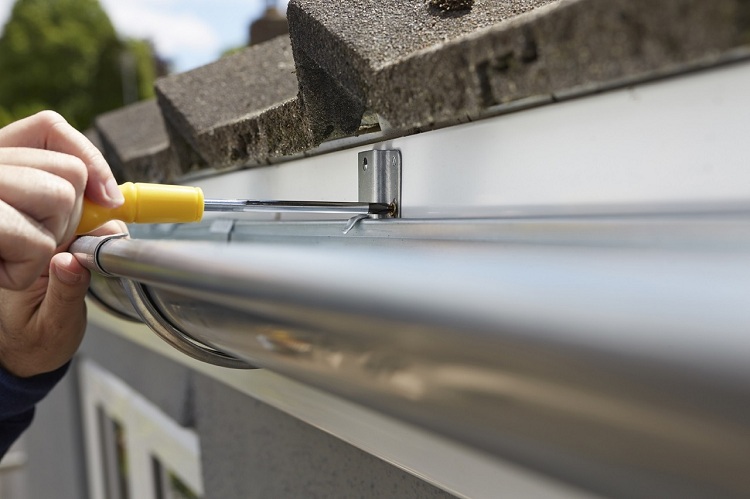
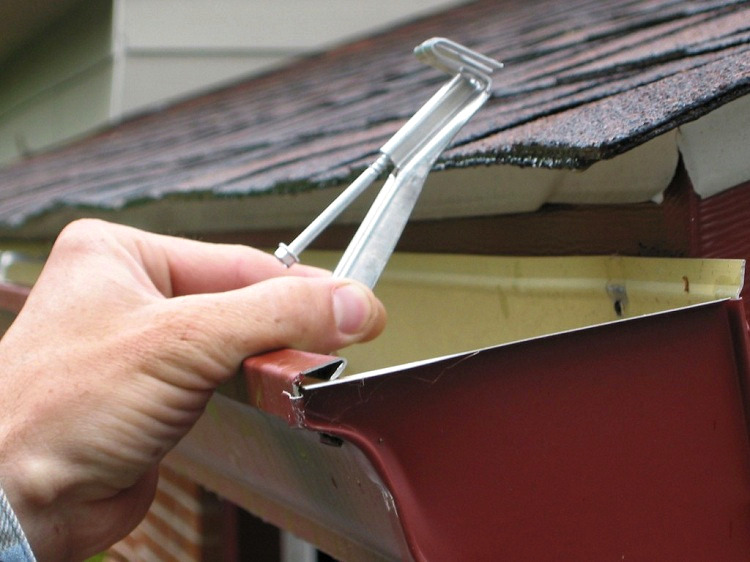
When installing gutters, the fixing brackets are placed evenly along the entire length. It is not too difficult to calculate the step length between them, since in most cases this indicator is 50 cm (up to 60). Brackets are fastened with self-tapping screws to each filly. If the rafter pitch is 1 m, then it is advisable to install additional fasteners to the crate.
Fastening a plastic gutter to the roof is easier, since it is light in weight. As well as polymer gutters, they are resistant to corrosion and have higher throughput due to smooth inner walls.
Installation of funnels, gutters and plugs
Funnels that perform the function of receiving water from the roof are mounted at the points where the gutters will be located. The installation of these water intake elements may be performed in the first place. This happens when they perform a connecting function and they are later docked with gutters, as well as pipes.
Before attaching the gutter gutter, a special hole is cut out in it, which is necessary for docking with the funnel. This work is done with a hacksaw. After the hole is ready, you need to clean the edges of the cut from burrs. In order to fix the funnel from a polymeric material, as a rule, a special adhesive composition is used. In turn, metal analogues are attached using special clips. To avoid clogging in the system, a protective grill is installed over the funnel.
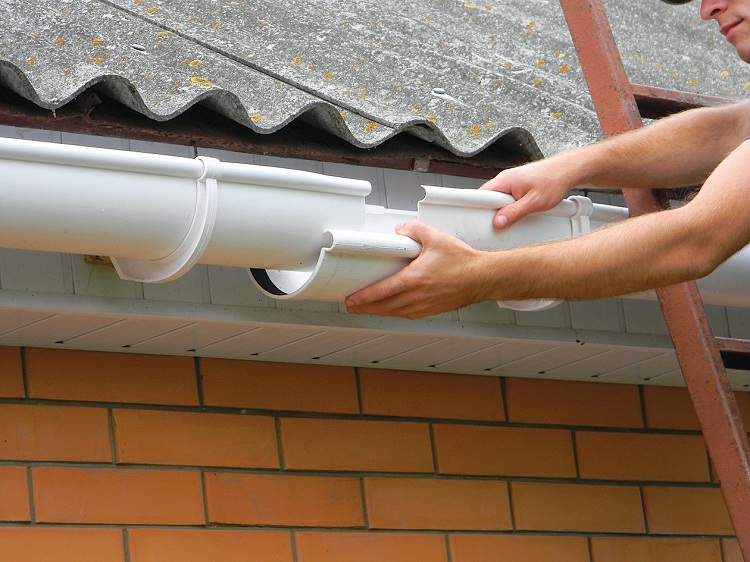
Gutters are fixed by means of brackets. This process occurs in this way: an external groove of the gutter is put on the end of the bracket. Docking the gutters is a fairly simple event, which is very similar to the assembly of the designer.
After installing the gutters, work is done to fix the plugs to them. Such structural elements are equipped with special rubber seals to increase the tightness of the drainage communication. Plugs that do not have rubber seals are mounted with the ribbed side up.
Important! There is one important rule that you should pay attention to: the gutters must go into the grooves of the plugs to the end.
Docking gutters are docked using fittings equipped with gaskets. Such connectors are centered between the two products and connect the structure with locks.
Installation of elbow, drainpipe, clamps and drain
The knee is necessary in order to go around the roof overhang. This element joins above with a funnel, and below with a drainpipe. Experts recommend mounting the knee directly from the bottom of the funnel, as this arrangement allows you to mount the gutter structure at a minimum distance from the wall of the house. The closer the gutter is installed to the wall of the building, the easier and more convenient it will be to fix it with clamps. During the organization of the spillway coming from the intake funnel, an additional elbow is used, which is directed downward.
After the knees are installed, a drainpipe is mounted directly under the roof.The gutter device is as follows: the pipe is inserted into the elbow and is fixed with clamps along the entire length. It is recommended to pre-calculate the drain, which is attached to the roof, since in some cases one drain pipe is not enough and you have to use two.
When fixing the drainpipe using clamps, it must be remembered that these products may have differences. The structural differences of the clamps depend on the material to which they are attached. Thus, the clamps for brick buildings will be different from the products used for wood. The composition of these fixative products includes the following structural elements:
- two legs;
- bolts.
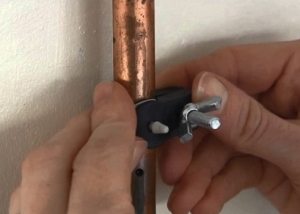
The legs of the clamps are put on the pipe and tightened with bolts. After mounting the clamps, the drain is installed. A drain is a pipe located at a certain angle (like a bend). Using a drain allows you to drain the wastewater to the required distance so that it does not fall on the walls and foundation of the building. The distance from the blind area to the edge of the drain should be within 30–40 cm. After installing the drainage system, it is advisable to rinse it from debris that has formed during the installation.
Errors that are most often made during installation
Installation of gutters to the roof is a serious event that requires accurate calculations. It is important that such communication is well enough fixed, otherwise its individual parts may come off during operation. Gutter repairs are carried out with the replacement of individual elements that are out of order. However, the repair of drains is an extreme measure that can be prevented by following the installation rules. Consider the most common flaws that are allowed when installing a drainage communication:
- One of the most common mistakes made during the organization of the drainage structure is the installation of pipes with the bell down. This arrangement of pipes entails leaks at the joints;
- Too much distance between the brackets. It is not recommended to install these locking elements at a distance of more than 60 cm from each other. Otherwise, at high ambient temperatures, the gutters may sag;
- plastic pipes tend to expand with temperature fluctuations. Therefore, it is not recommended to overtighten the clamps on the drainpipe.
Advice! The gutter installed in the inner corner of the building is not the best solution. For easy care of the pipe, you must mount it on the outer corners of the house.
Regardless of the type of gutter communication, it is worth remembering that it protects only the roof and facade of the building from atmospheric precipitation. To drain water from a specific territory, it is necessary to mount a storm sewer system.
