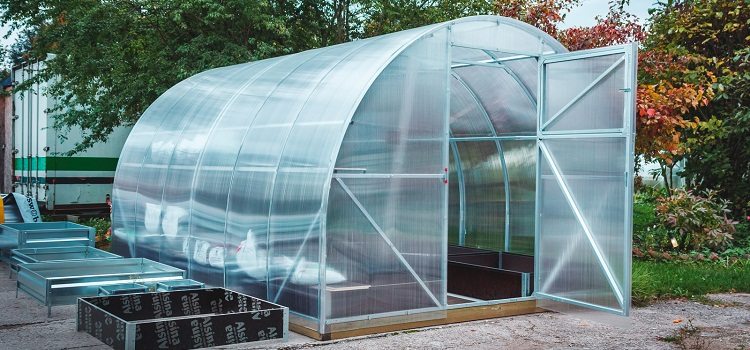
To make the use of a home-made greenhouse from a profile pipe comfortable and the entire structure durable, it is necessary to carefully consider the selection of materials for the frame and the walls of the greenhouse. One of the best options for building a greenhouse frame is a steel profile pipe. Steel structures can hardly be called the lightest and easiest to install, but they have no equal in the issue of resistance to warping and deformation.
Content
- 1 Creating a greenhouse from a profile pipe: pipe selection and drawing
- 2 Do-it-yourself preparation for building a greenhouse
- 3 Do-it-yourself greenhouse from a trade union pipe: procedure
- 4 Bending of profile pipes for greenhouses: cold method
- 5 How to bend a profile pipe for a greenhouse with heating correctly
Creating a greenhouse from a profile pipe: pipe selection and drawing
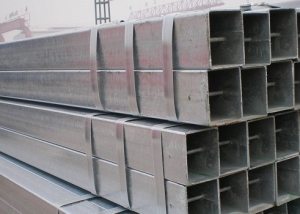
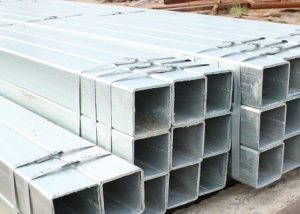
In order to achieve the optimal cost of a self-made greenhouse, you need to accurately determine the amount of material you need. The greenhouse frame is best built from a profile pipe with ribs with dimensions of 40 x 20 mm or with a square section of 40 x 40 mm. Profiles with wall thicknesses of at least 2 mm are used. An exception may be profile pipes for horizontal screed, their wall thickness will be 1-1.5 mm.
A greenhouse having a frame made of profile pipes usually has the following configurations:
- made in the form of an extension to a private house with an asymmetric oval or pent roof;
- a greenhouse in the form of a house with a gable roof;
- greenhouse, built on the principle of arched construction.
Steel profile steel is sold with a measured length of 6.05 m. This fact should be taken into account to reduce the number of pipe sections.
Based on the available sizes, it is most advisable to build a greenhouse with your own hands with a length of 3 m, 4 m, 6 m or 12 m. The width of the building will be, respectively, 2 m, 3 m, 4 m or 6 m. The most convenient size with taking into account the presence of two parallel beds in the greenhouse will be 3 - 6x3 m, with the placement of three beds - 3 - 12x4 - 6 m. The proportion of 3х6 m is considered the most popular standard in private construction.
The height of the greenhouse is calculated from individual data. Usually, the height is based on human height + 30-40 cm. Total, the smallest option for a home-made greenhouse from a profile pipe will be 1.9 m, the largest - 2.4-2.5 m.
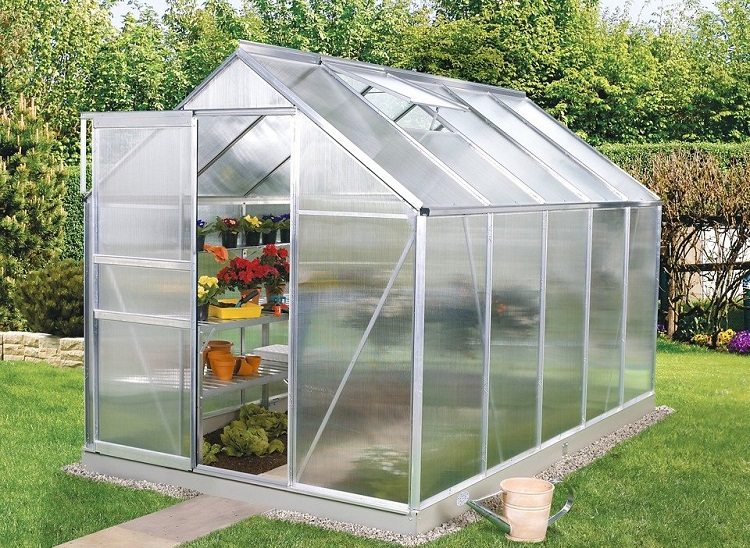
The size and shape of the greenhouse are selected based on the purpose of this design and the number of plants that will be grown in it
The height of the greenhouse may also vary based on the cladding used. If film sheathing is used, the issue of efficiency is no longer needed. If polycarbonate sheets were chosen as the cladding material, then you should calculate the height so that one polycarbonate sheet is enough for the cladding, i.e., you do not have to cut off the excess plastic or grind narrow sheets. Cellular polycarbonate is produced in sheets with a length of 6 m, and using the formula for the circumference L = π * D, you can find the following:
It is planned to build a greenhouse 2 m high, the circumference will be: L = 3.14 x 4 = 12.56. Half length: 12.56: 2 = 6.28.
It turns out that sheathe the greenhouse with one sheet of polycarbonate will not work, you will need a narrow strip of plastic with a width of 28 cm.This is not rational, therefore it is better to indicate in the drawing the height of the greenhouse from the profile pipe to 1.9 m.
Do-it-yourself preparation for building a greenhouse
Before you begin to design a frame, you must consider all the additional factors. For example, the properties of the soil on which the structure will be built are of no small importance. Excess moisture in the greenhouse is undesirable, therefore, dry soil under the greenhouse is preferred. The driest soil is considered to be a mixture of sand, and clay soils are likely to become waterlogged.
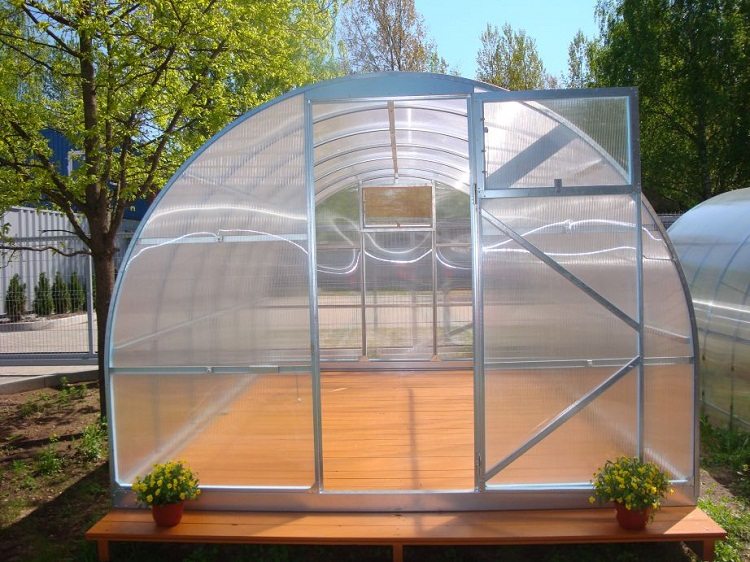
The entrance to the greenhouse is equipped with one of the end sides, if desired, vents are arranged for ventilation
Helpful advice! The longer side of the greenhouse should, according to the rules, face south. This will increase the amount of sunlight falling on the walls of the greenhouse, eliminating the possibility of reflection from the surface of the polycarbonate.
The entrance to the greenhouse is usually located on the front side. The height of the entrance door will depend on the overall height of the building, and the width of the opening is not recommended to be made less than 700-800 mm. For long-term greenhouses from profile hire, you can additionally design a small vestibule. Thanks to the corridor, convenient storage of garden equipment will be provided. Also, the vestibule will prevent the flow of cold air into the greenhouse when opening the front door.
The foundation on which the frame will be located can be tape or columnar. The final decision depends on the results of surveying. A section of the foundation is cleaned of debris, a fertile layer of soil is removed from it.
Do-it-yourself greenhouse from a trade union pipe: procedure
Do-it-yourself construction work on the construction of a greenhouse from a profile pipe is carried out in several stages:
1. The markup. With the help of wooden pegs and a rope stretched around their perimeter, the location of the future greenhouse is determined.
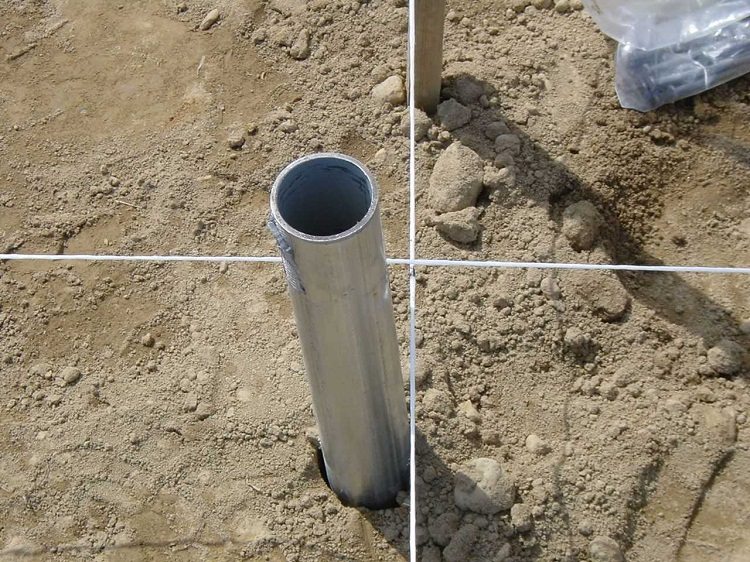
2. Preparation of the foundation. The metal frame, assembled in advance and transferred to the construction site, is resistant to twisting. Due to this feature, when building a greenhouse with their own hands, the most commonly used columnar foundation is made of asbestos-cement pipes. It is formed as follows:
- pits with a larger diameter are drilled strictly according to the marking in the soil than in prepared asbestos-cement pipes;
- pipe holes made of asbestos cement are placed in holes in the soil;
- in the remaining space between the walls of the recess in the soil and the pipe is poured or soil, the filler is rammed;
- the pipe cavity is poured with concrete mortar;
- in the upper section of the pipe, filled with concrete, a section of a metal plate or a section of reinforcement is immersed. These elements in the future will serve as a means for connecting the foundation and the metal frame.
3. Assembly of the frame. The frame begins to be assembled from the construction of the end walls of the greenhouse. The individual elements are joined by welding, by means of couplings, angles or tees. The frame connected by welding is more stable. When using connecting elements, a collapsible frame is obtained.
4. Hanging polycarbonate panels. For fixing honeycomb panel polycarbonate to the frame, self-tapping screws with thermal washers are used. This type of fastening helps protect against moisture penetration into the polycarbonate honeycomb.
Helpful advice! When installing polycarbonate sheets, it is necessary to ensure that the air spaces of the honeycombs are either at an angle or vertically. If you place the honeycomb horizontally, the accumulated moisture will not drain, which threatens to deteriorate the quality of the plastic.
The last stage of construction will be the installation of window leaves and doors.Windows are usually made when designing a greenhouse from a profile pipe with a gable roof, small arched structures can only be equipped with a door.
Bending of profile pipes for greenhouses: cold method
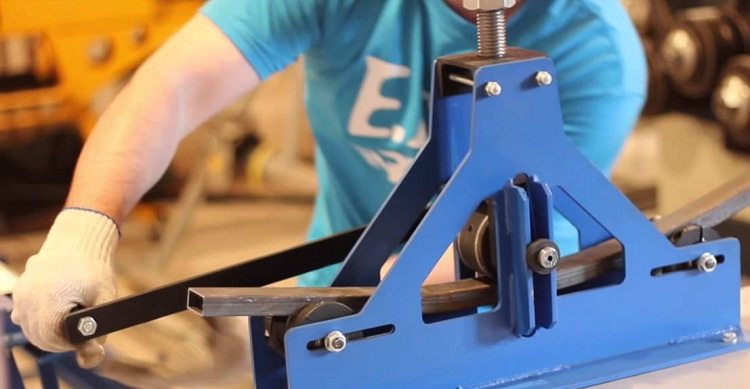
The most stable and practical types of greenhouses are arched structures. Arched greenhouses are characterized by high aerodynamic characteristics; they easily tolerate strong gusts of wind and loads of snow layers. But to create them, an additional stage of construction is necessary - pipe bending. To give the arch a profile, you can use the services of third-party organizations or purchase a special tool - a pipe bender. For those who want to save money and, in part, time, there is another option - to bend the profile pipes with their own hands. To bend the profile for the greenhouse correctly, you will need a radius template.
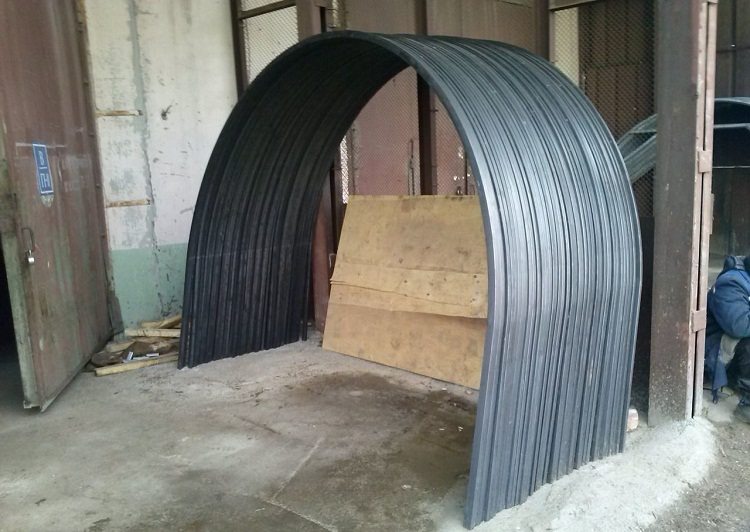
You can bend the pipes to order from a specialist in such works or purchase ready-made arcs made in the factory
It is possible to bend profile steel by the “cold” method both with the use of filler and without it. A frame with a profile thickness not exceeding 10 mm can be bent without filler. Thicker-walled products are best filled with building sand or rosin.
Helpful advice! An alternative to sand can be a stiff spring of a size sufficient to fit it snugly into the profile lumen. Spring filler will help minimize the risk of changes in the cross-section of the profile due to poor bending.
Bending "in the cold" with your own hands can be done in different ways:
- using the simplest home-made devices - bending plates, etc .;
- using a manual or mobile pipe bender.
For cold deformation of pipes, the most affordable devices will be horizontal bending plates with holes. Metal rods are installed in the holes in the plate, serving as an emphasis for bending. You can bend the profile by placing it between the rods installed in the holes according to the principle of the required deformation radius. They begin to bend from the middle of the workpiece, gradually moving to its edges.
The minus of cold deformation with your own hands will be that the quality of the result will depend on the physical efforts applied during bending.
How to bend a profile pipe for a greenhouse with heating correctly
The option is good for relatively thick-walled profiles. The lumen of the pipe is filled with sifted river sand, which will ensure the quality of processing and the uniformity of the bend. For the convenience of work, care should be taken about the presence of tarpaulin gloves and a safe source of fire.
The procedure will be as follows:
- from the scraps of lumber or timber, two pyramidal caps should be machined. Their length should be 10 times the width of the base. In this case, the base area should be at least 2 times greater than the clearance of the profile pipe.
- After fitting the plug to the pipe hole, it is necessary to select the longitudinal grooves on four sides. They are designed for unhindered exit of gases that will accumulate in the cavity of the pipe when heated. The second wooden cork is not processed.
- the workpiece is preliminarily fired at the site of the planned bend.
- the filler, in our case, sand, is sifted through a fine sieve. If you skip this operation, gravel and small stones made of sand can create an unnecessary relief on the walls of the profile. You will have to get rid of too small, dusty particles. For this, a sieve with openings of 0.7 mm is used. Fine sand may form inside the pipe when heated.
- sand is calcined at a temperature of 150 degrees;
- one end of the pipe is closed with a wooden plug without grooves. A funnel is installed at the second end through which the calcined filler is portioned.
- in order to sand compacted, periodically tap on the walls of the pipe. A sufficient seal will be indicated by a dull sound when tapped. When the pipe is full, the second end is plugged with a slot with grooves.
- the bending (heating) section is marked on the blank with chalk. The profile should be fixed on a vice with a prepared template. If a profile with a welded seam is used, it is better if the seam was located on the side - it is not recommended to deform the pipe along the welded joint.
- the marked area is red-hot. Now you can give the softened workpiece the desired shape. It should be bent in one step with a smooth movement.
- After cooling, it is necessary to compare the product with the template. If the compliance is complete, plugs are removed and sand is poured out: you can proceed to bending the following profiles.
It is good if the steel profile undergoes single bending. Heating of the metal leads to a loss of strength, especially if the steel has to be calcined repeatedly.
The construction of a country greenhouse from profile hire with your own hands does not pose a serious problem for a person who does not have experience in construction. The general principle of installing a greenhouse from a profile pipe is the same for all cases, and more accurate calculations will depend on individual requirements.
